Skin Pack Creation Guide
While Europe in Ruins has it's own Skin Pack, it doesn't meet everyones favour, as some people might like different looks to others and so forth. I for one prefer the Relic Tommy skins over any skinners, but that's just personal taste.
So I bet some of you are wondering how to create your own, and while you may think it to be difficult, it isn't.
Tools You'll need:
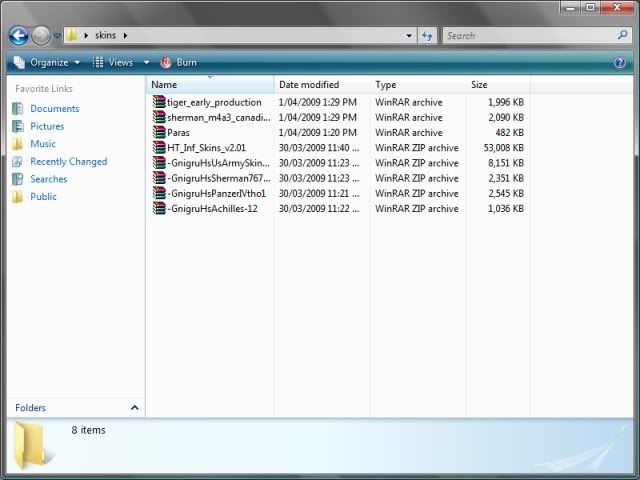
Good Places to find Skins:NOTE: MANY OF THE ABOVE SKINS STILL USE FILEFRONT, SO BE QUICK AND GRAB WHAT YOU CAN!1. First thing you should is download your skins, it's much easier to create the whole file with all the skins you want in your pack. Below is a typical listing of the type of skins zips you'll get from downloading.
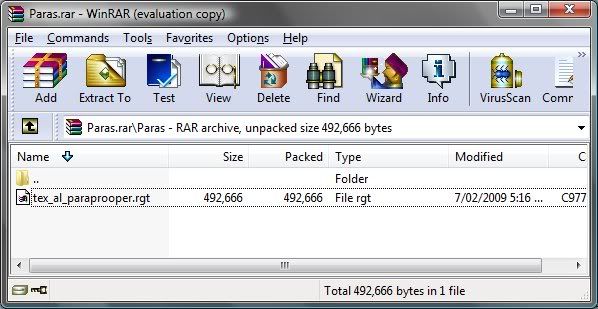
2. Now here is the part that some people have trouble with, this is mainly due to some skinners not correctly explaining how to install their skins. For example, the Paras file only has the 1 file located inside of it. But not to worry, as I know where it should go.
3. Hopefully you've downloaded my skeleton file from this and unzipped it, because it has the correct directory structure for all units. However, most of the time the good skinners will properly place their skins into the correct files already, so all you'll have to do is extract them into my data folder and it should be all in the correct place, but for those that don't like the paras, we need to place it in the correct area.
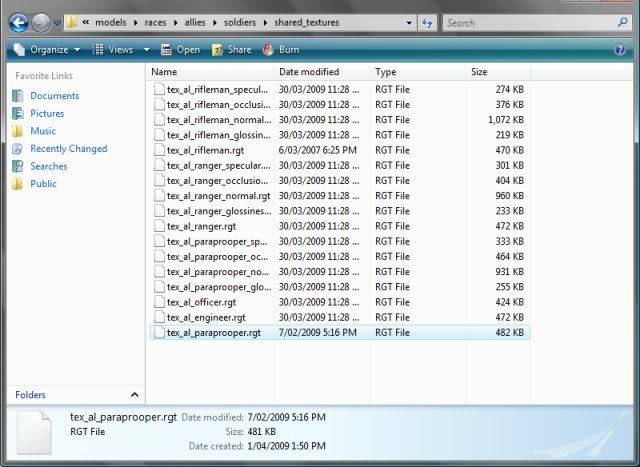
For Infantry, most of the files go into the respectiveshare_texture folder (
data\art\models\races\<race>\soldiers\shared_texture directory, so for the paras it's
data\art\models\races\allies\soldiers\shared_textures, and then it's a simple matter of extracting it into that folder.
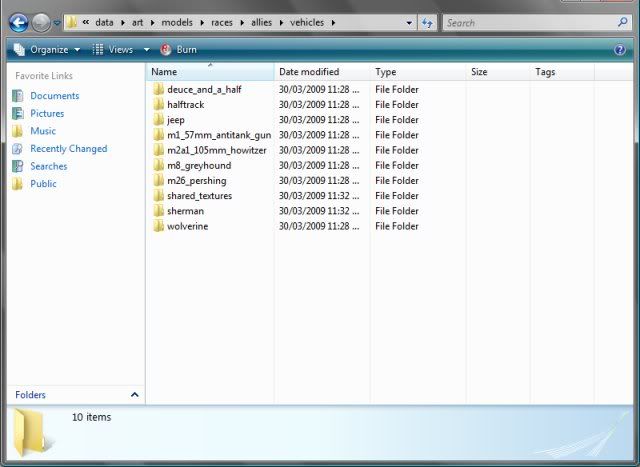
For Vehicles, most of them have their own folders where their skins must be placed in, there are a few expectations, but the skinner usually has that covered.
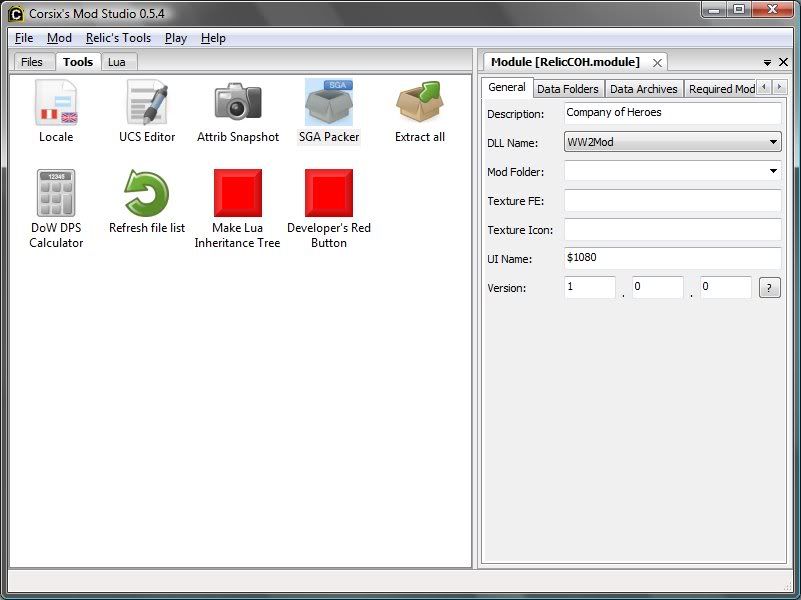
4. Once you've correctly place your skins with the correct folders it comes time to compiling the skin pack to be used in the game. Fire up Corsix Mod Studio, load any mod or sga, as it doesn't matter.
From inside of Corsix, click the tools tab then double click SGA Packer
5. You'll be greeted with a popup box like this:
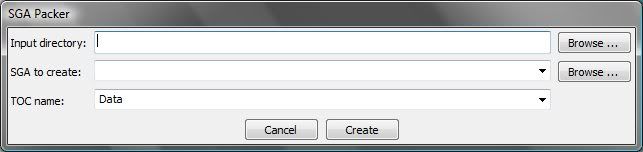
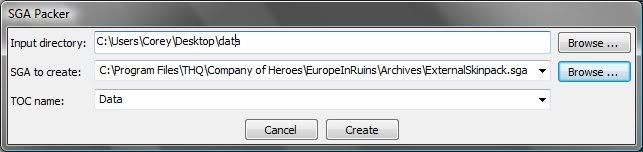
From here, click Browse on the Input directory tab and located the Data folder you were placing skins into. Next, click the Browse button on the SGA to Create tab and locate the SGA called ExternalSkinpack.sga located in
Company of Heroes\EuropeInRuins\Archives\, we are going to overwrite the old skin pack; if its not there; just simply create one instead.
It should look something like this:
6. Click Create and let Corsix do it's thing, and then Congratulations; You just made your own skin pack! If you want to update it at any time, just run through the steps again and overwrite the old one, it's much easier than creating new files each time.
It will only work in EIR however, as I believe it's a tad risky to go editing core COH files when patches and TOV come out, forcing you to reinstall in most cases.